Getting Started with H5P
UBC’s H5P is primarily designed for faculty members, though students can also use the service for their course work.
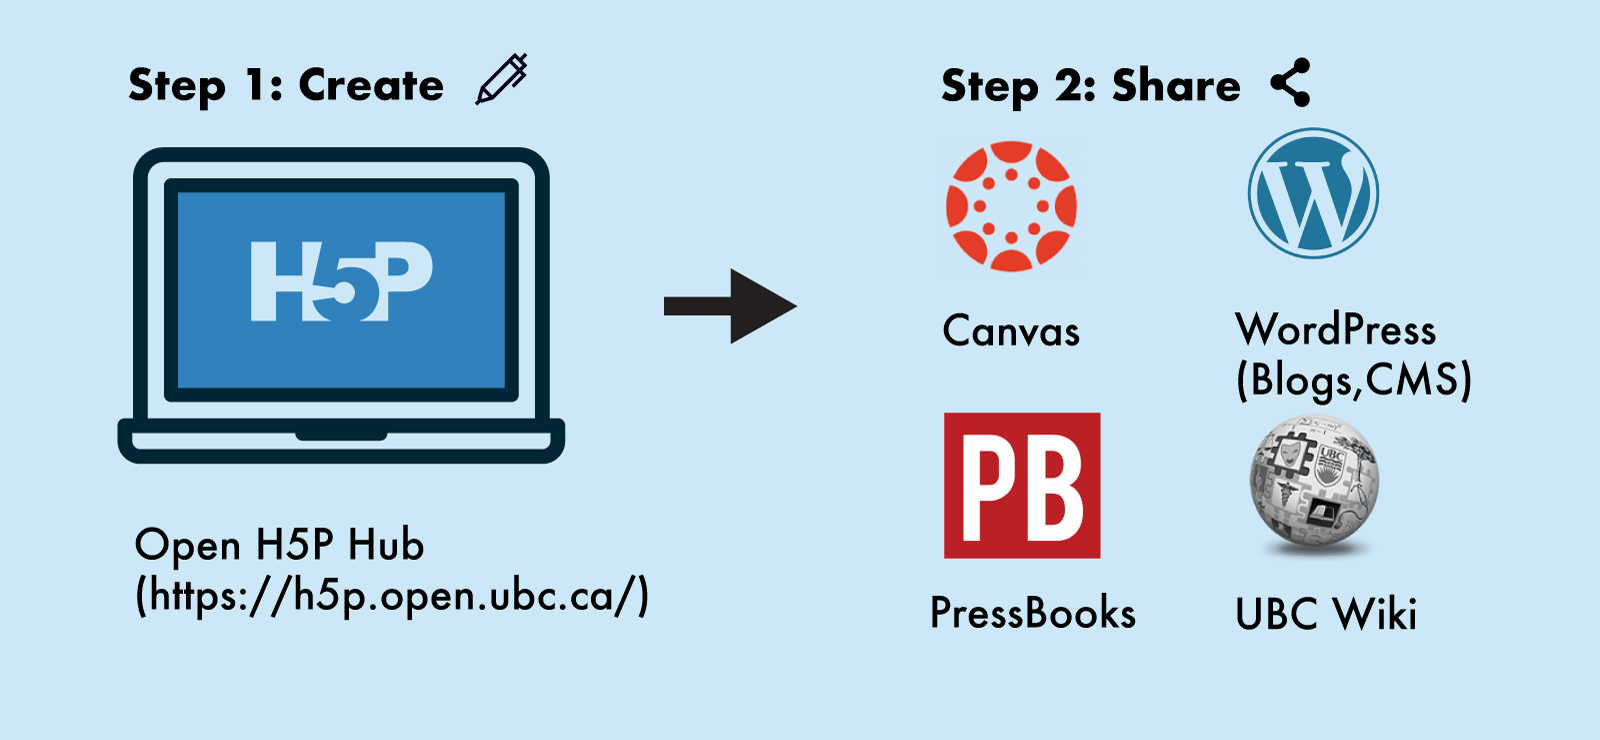
There are two major steps to get started with H5P. First is to create a H5P interactive element using the Open UBC H5P Hub. The second step is to share that H5P content to your choice of learning technology platform (such as Canvas, UBC Blogs, or PressBooks).
The following are things to consider when you start to use H5P.
- Will you be using an existing interaction, modify it or create your own?
- Explore the H5P.org and other H5P object repository sites, such as eCampusOntario H5P Studio or the H5P Global OER Hub (once ready).
- Think about how interactive media will enhance your course as far as presenting information or helping learners with formative assessments and feedback.
- Decide on how you will be accessing H5P? What do you have available? And what meets FIPPA requirements if you are considering it for student’s use for assignment content creation?
- Consider accessibility. If you are using an interaction that is focused on visual information, have you included that information in text or audio modes? Will the interaction type be accessible on most devices?
Step 1: Create
- Click the Log In button located at the top right to login to Open H5P Hub
- The first time you sign in you will be required to update your profile. Under UBC Faculty, select the faculty you belong to. Then click Update Profile.
- Go to H5P Content>Add new to create new H5P content
- Choose H5P content types. For more information on each content type, refer to the H5P documentation here.
- After you create your H5P, click create.
- You have created your H5P element! To share this H5P element to your choice of learning technology platform, click Embed and copy the embed code. Then move to Step 2: Share.
Step 2: Share
Share to your Canvas Course
- Go to your Canvas Course that you want to embed the H5P element that you have created.
- Go to the page that you want to add your H5P element. On that page, go to View>HTML Editor to switch to HTML Editor.
- Paste the embed code that you have copied in Step1: Create.
- Click Save.
Share to your WordPress(Blogs/CMS) site
- Go to your WordPress(Blogs/CMS) site.
- Go to page/posts that you want to add your H5P element.
- Add Custom HTML blocks.
- Paste the embed code that you have copied in Step1: Create.
- Click Save.
Share to your PressBooks
- Go to the PressBook that you have created.
- On the page that you want to add H5P element.
- Click Text(HTML) to switch to HTML editor.
- Paste the embed code that you have copied in Step1: Create.
- Click Save.
Share to your UBC Wiki site
Refer to the H5P documentation here.
Other
You can share your H5P elements to any other learning technology platforms so long as it allows you to paste HTML/iframe code.
Reusing H5P
The simplest way to use H5P interactions, is to repurpose existing H5P interactions. The interactions can be reused by getting the embed code and using it on your course or web page. The code can be accessed by the <>Embed link on the bottom right of the interaction itself.
Page attributions:H5P Graphics by UBC (CC by 4.0). Logos displayed in the graphics are protected with trademarks. Share,pen,laptop icons used in the graphics are CC 0 license. Text on this page was adapted from the Documentation: H5P by Parm Gill, shared under a CC-BY-4.0 License.